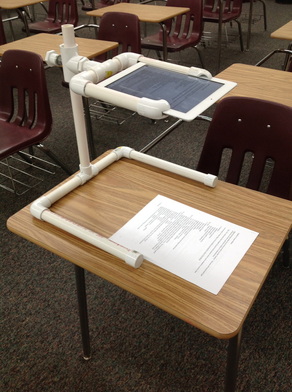
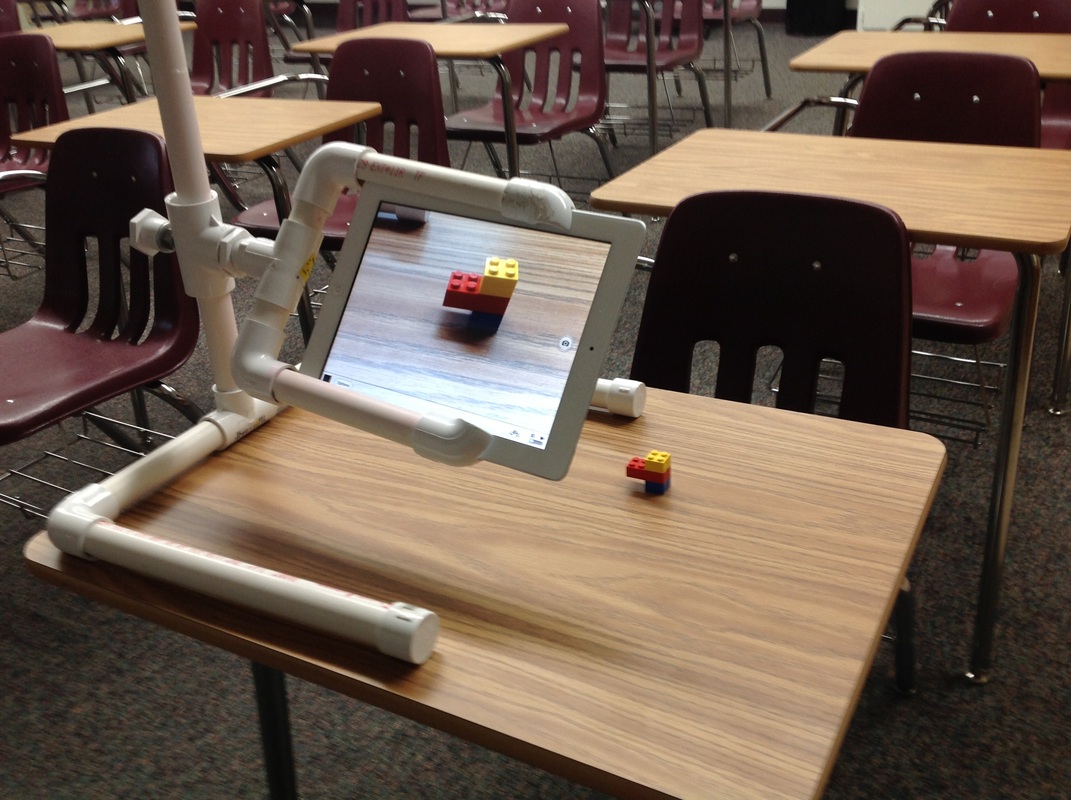
A document camera stand must be adjustable: the height definitely and the angle of the camera preferably. A stand must also be cheap (did I mention that he laughed at my request?). After drawing out a schematic, one of the retired awesome people in our community (*cough* Bernie Mulder) volunteered/relented and made me one. I had to tweak it just a bit with a hacksaw and some files (since he doesn't actually have an iPad at his house to work with) but the finished product is worthy of its own YouTube video.
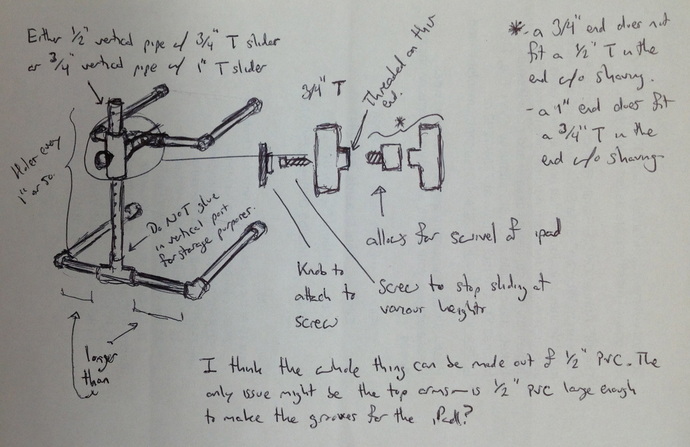
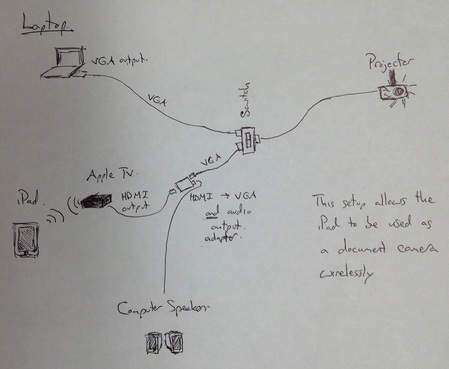
Below I've included my schematic for the iPad document camera stand (hand drawn of course) along with the diagram for how I envision it working with the Apple TV and the video projector (again, hand drawn). If you've got any ideas as to how to improve the design l'm all ears.
I've included some detailed instructions and pictures at the bottom of this post.
| This diagram works for a VGA projector. If you are lucky enough to have an HDMI projector, you can get rid of the HDMI to VGA converter. However, you will then have a sound issue. The sound output on the Apple TV is only digital (as opposed to analogue). So, unless you've got a digital to analogue converter laying around ($100-ish) those sweet speakers you have are useless and you now have to listen to your awesome movie on the projector's miniscule speakers. The only workaround I've found is to use the RCA audio out from the projector and bring cords back through the ceiling to the speakers using an RCA to 3.5mm adapter. |
All the straight pieces and the elbows and T's of the arm and base are made out of 3/4" PVC. (Note: the measurements are the inside diameter of the pipe NOT the outside.)
General:
-A couple feet of 3/4" straight pvc.
-2 end caps
-6 elbows
-2 3/4" T's with no threading
Swivel:
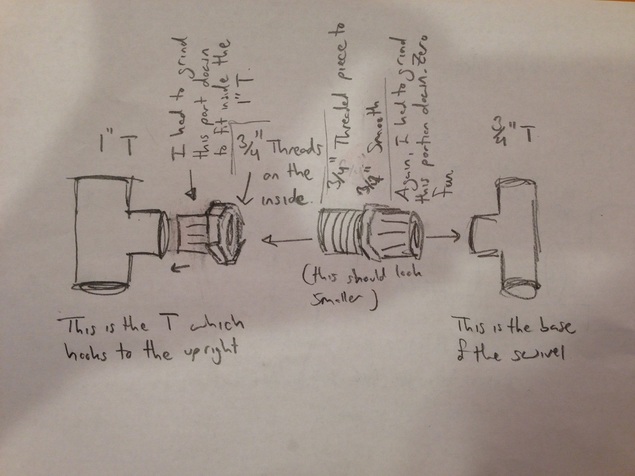
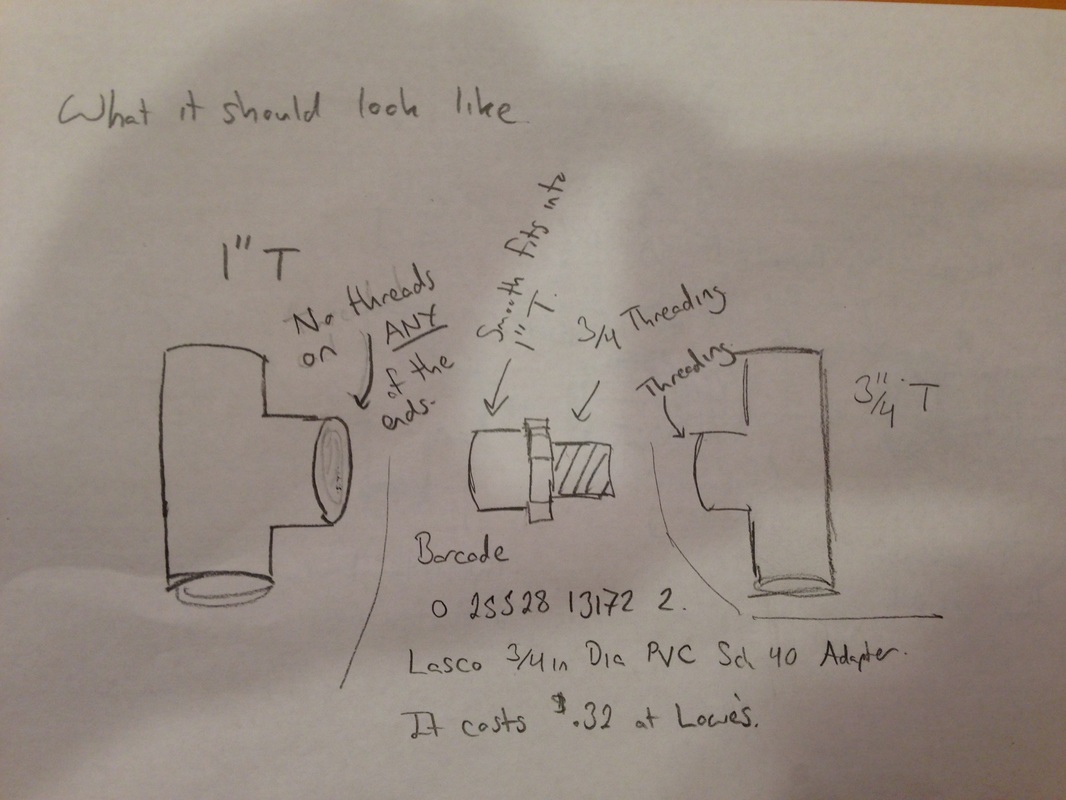
-a 1"tee with no threading at all,
-a 3/4" tee with threading on the middle connector,
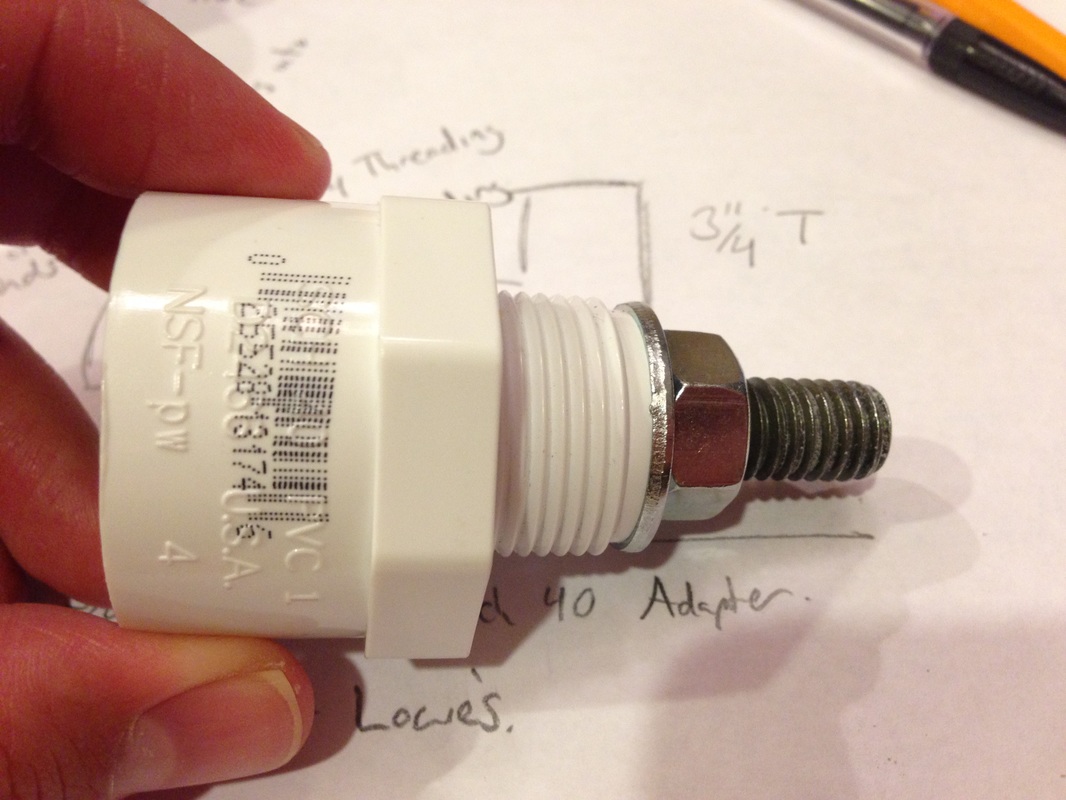
-and a 3/4" adapter from Lowe's (barcode number 0 25528 13172 2). (directions for making the swivel at the bottom of the post).
Handle:
-1 3/4" threaded to 1" non-threaded adapter
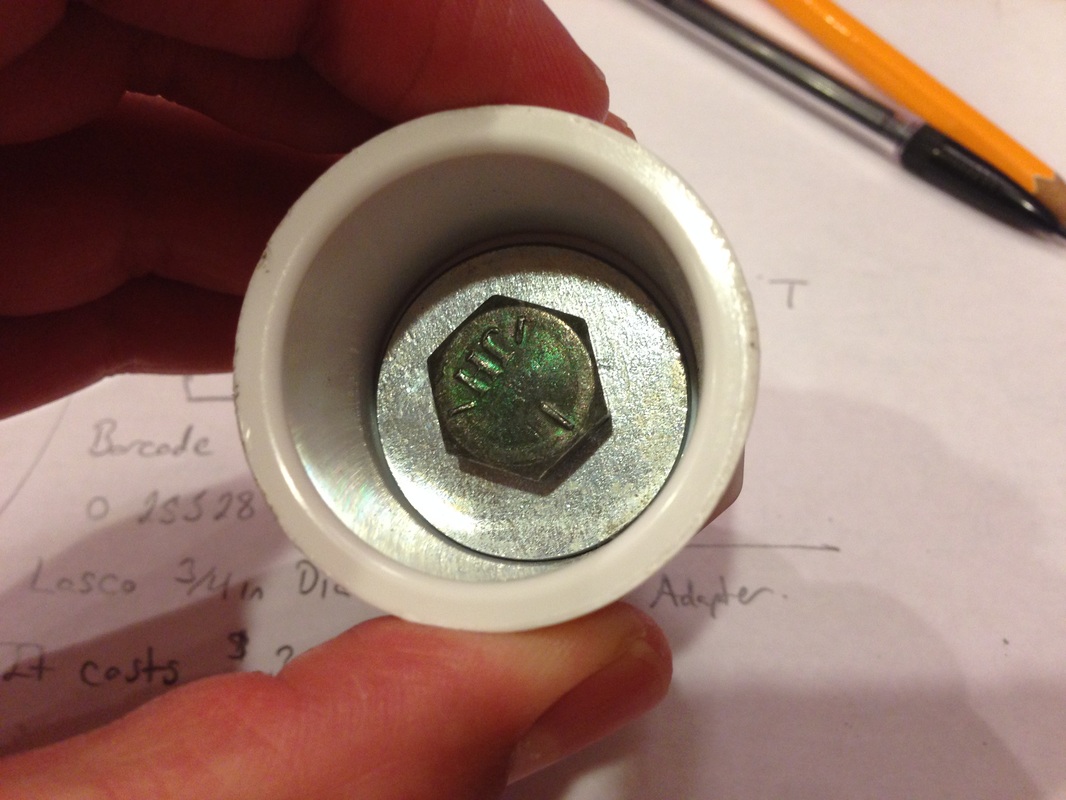
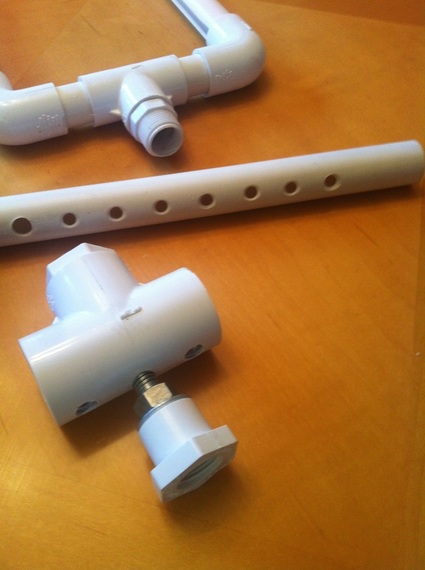
-1 bolt with nut and two washers to hold it in place. (I don't remember the specific size of the bolt. I rummaged around until I found something that worked. (See image below)
(EDIT: I have a better explanation of the swivel at the end of this post).
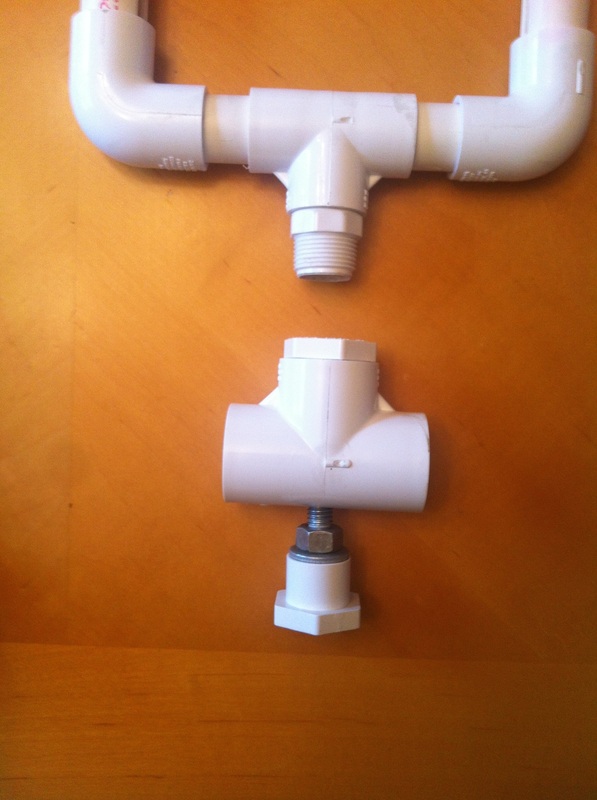
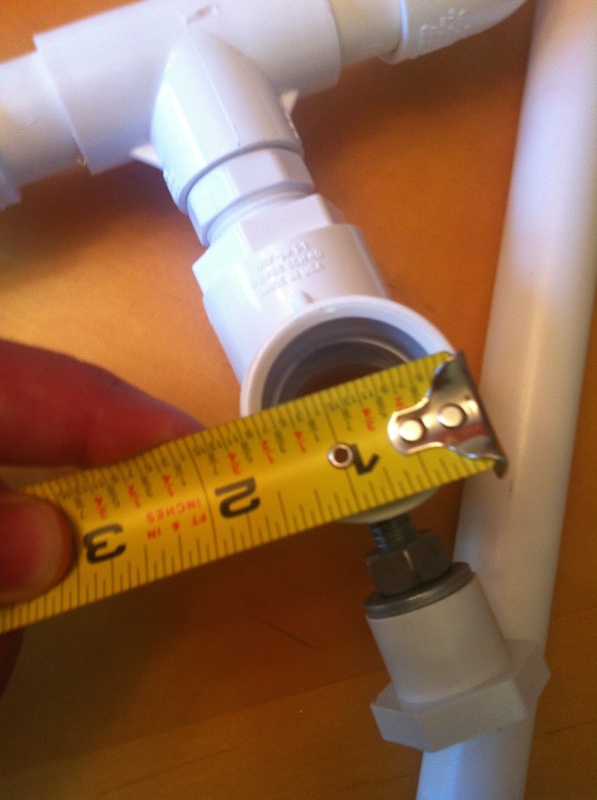
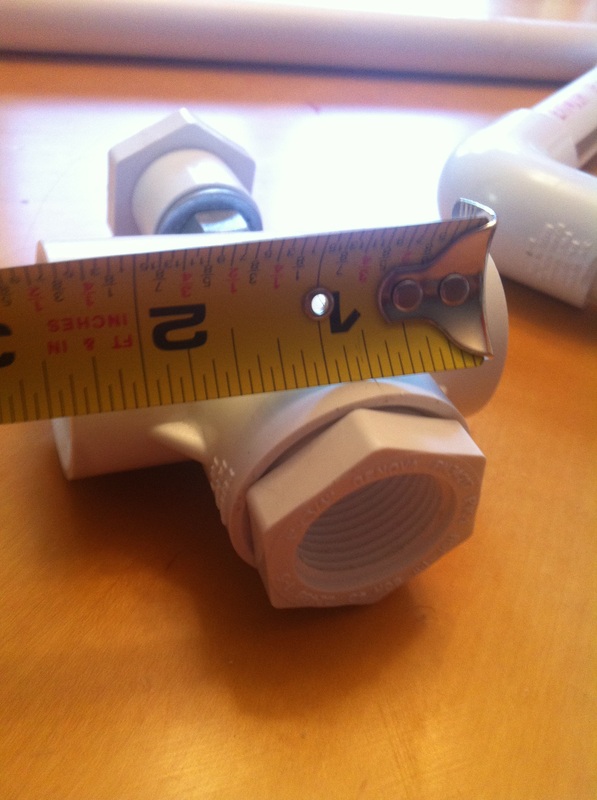
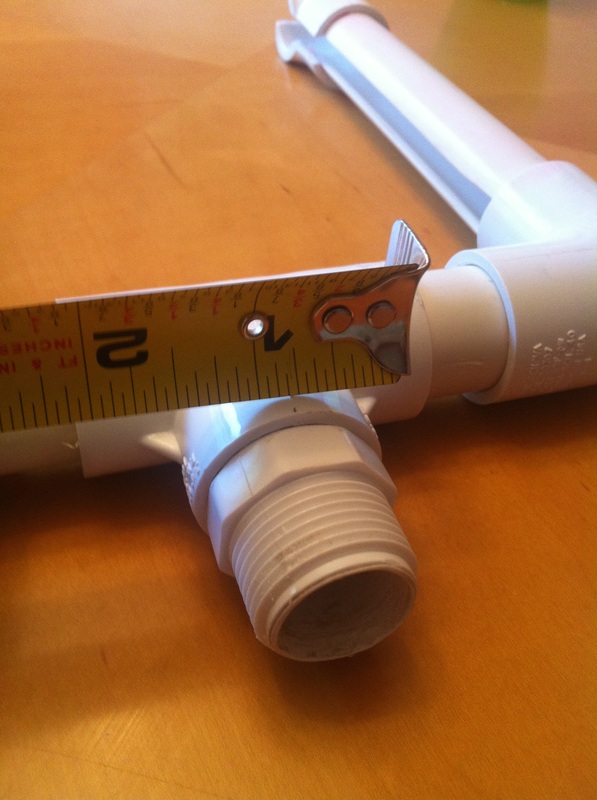
The tee attaching the arm to the vertical, the one with the bolt drilled in, is 1" allowing it to slide easily over the 3/4" straight pipe. The large 1" tee has a 1"x3/4" female threaded insert (bottom left). Generally, they are smooth on one side and threaded on the other. This then connects to a 3/4"x3/4" male threaded insert which is glued into the 3/4" tee of the arm (bottom right).
The threaded pieces do not need any adhesive to keep them together. The plastic threads have enough friction after several turns to hold the weight of the iPad in any position.
Also, the picture below shows several holes drilled into the 1" T either for additional bolts or changing the position of the one already in the stand. I have never found this necessary and would skip this step the next time I make the stand. The bolt mechanism consists of a bolt (I don't remember what size) with a nut on either side of the washer generously glued into a 3/4"x3/4" female threaded adapter (just like the one above left only smaller).
It is VERY important that the T on the base is NOT centered. The camera on the iPad is on the right side, not the middle. This model is 1" off-center; I will increase that next time. Also, make sure the legs of the base are at least 11" apart to allow for a standard piece of paper to fit in any orientation (we chose 13").
INSTRUCTIONS FOR MAKING THE SWIVEL
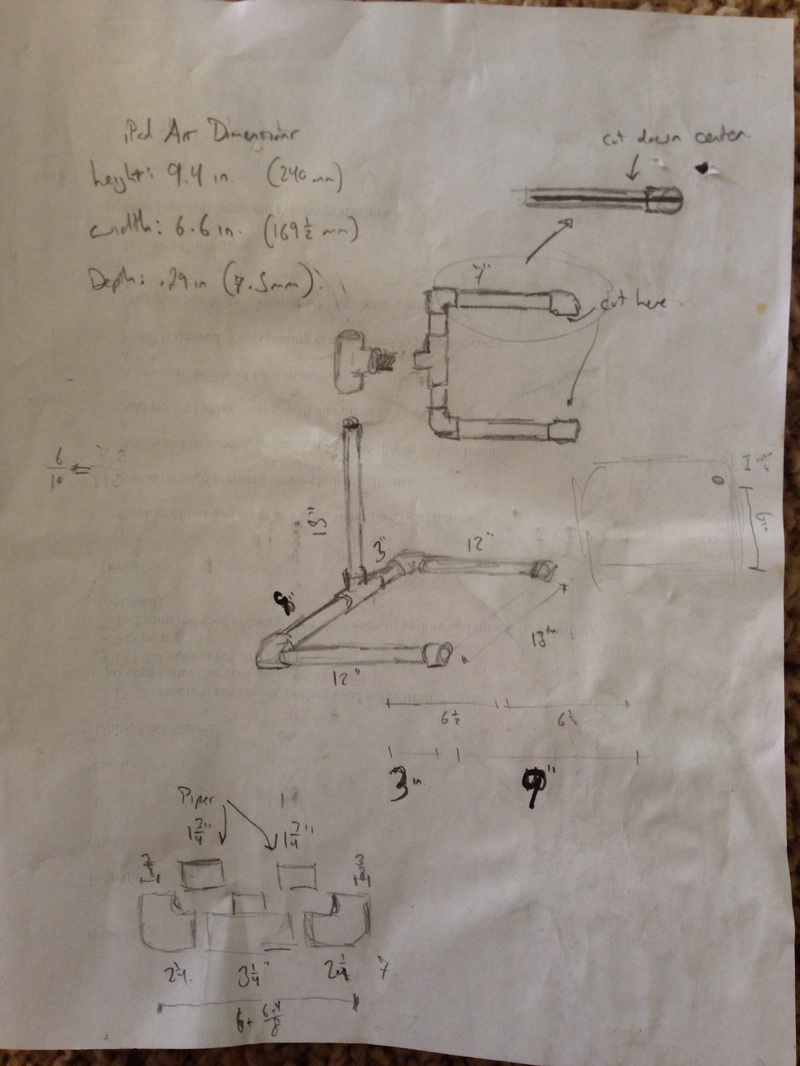
Here's a bit more detail on making the swivel portion of the document camera stand. I just recently moved to CO and my hardware options changed--I couldn't find the pieces in the pictures above. I also changed school districts and had to write a grant for a new iPad Air. That meant I needed to make a new stand. Curses. Here's my back of a napkin design for a document camera stand for my iPad Air.
 RSS Feed


