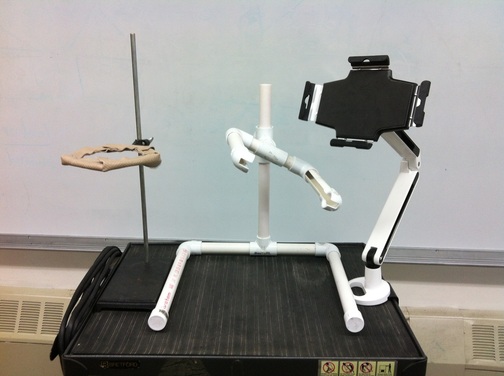
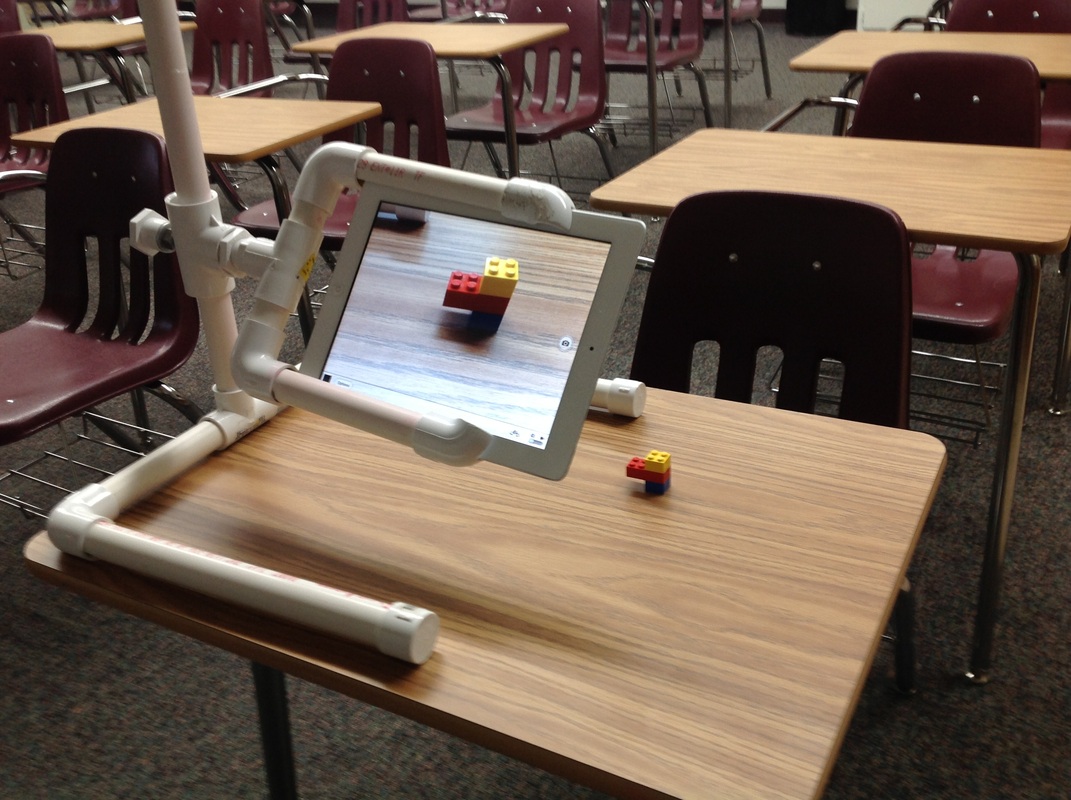
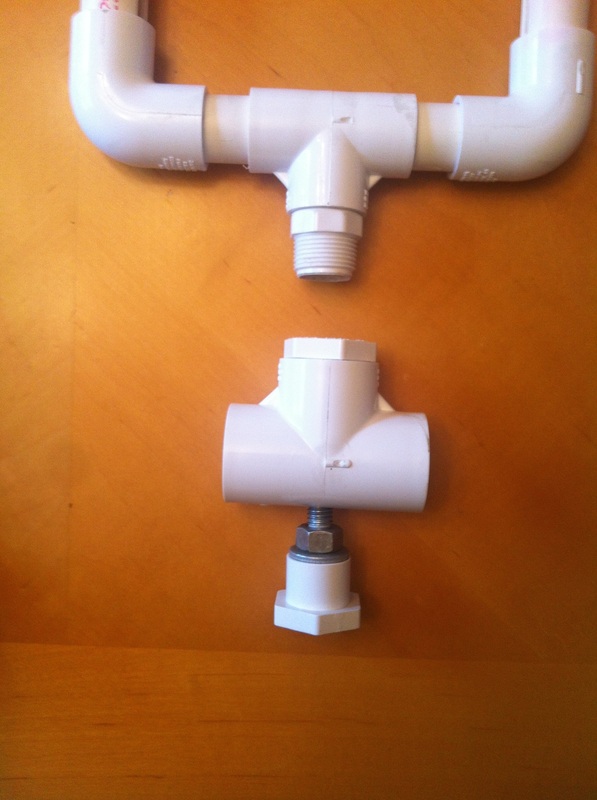
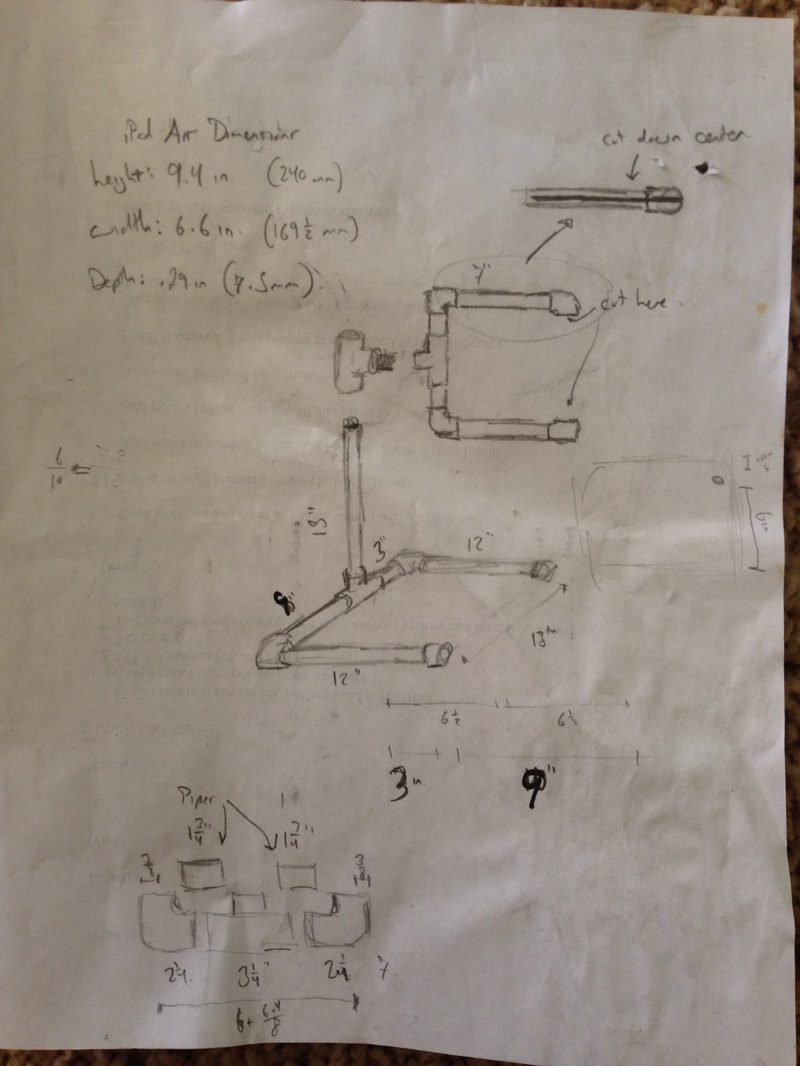
This is my second attempt at a D.I.Y. iPad document camera stand.
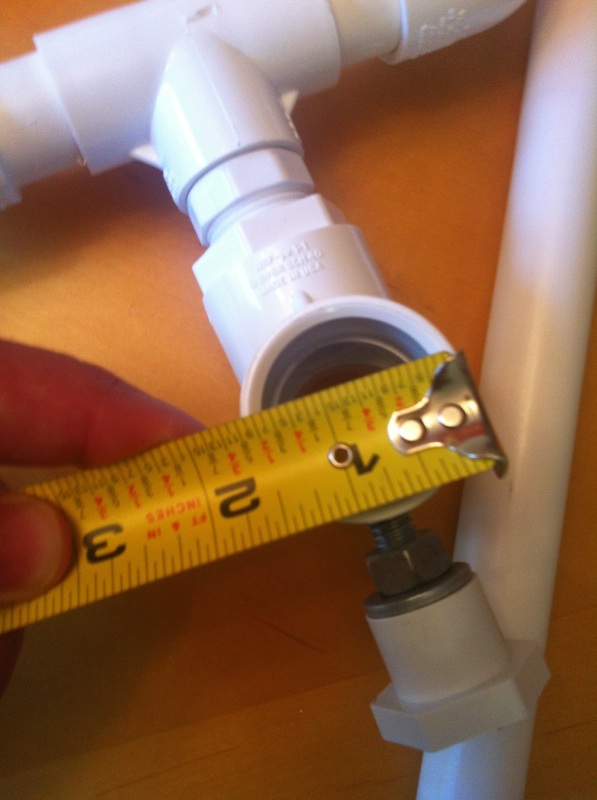
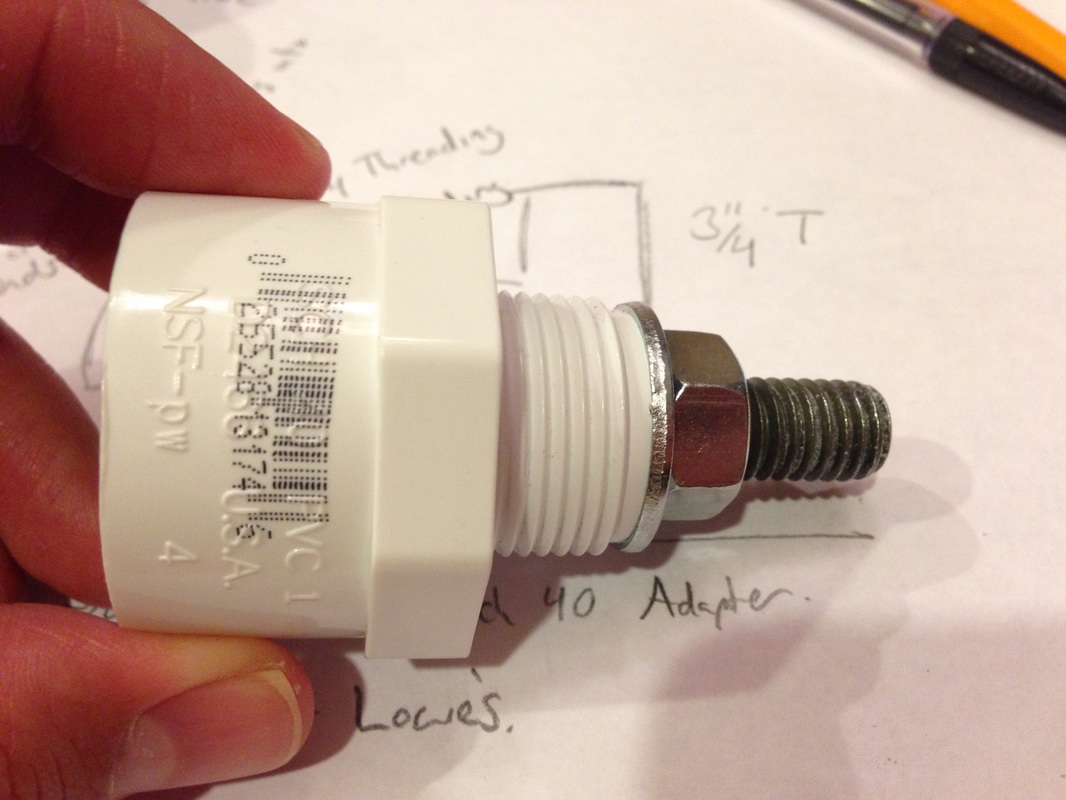
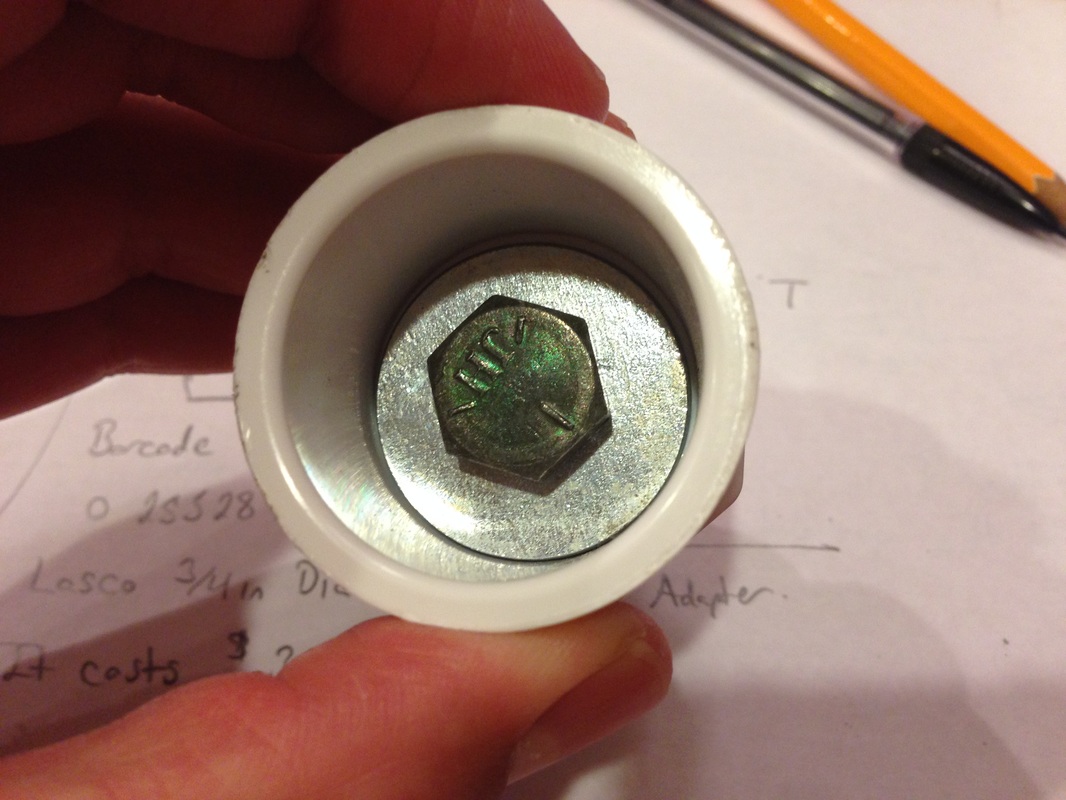
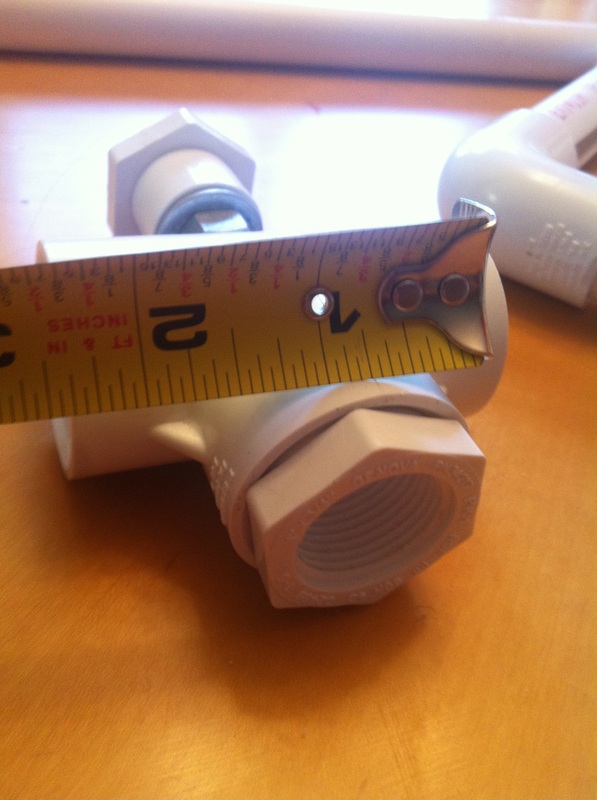
The height is adjustable via the screw at the back of the post.
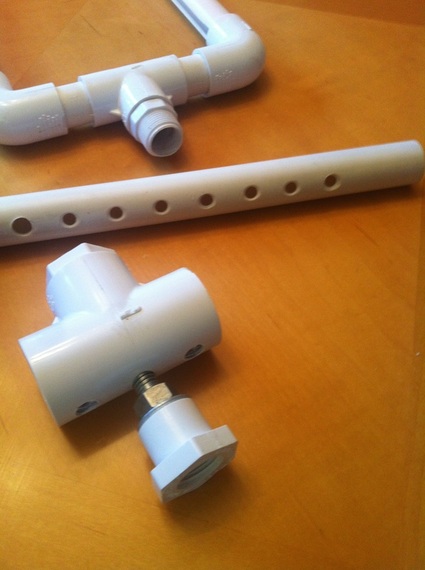
The leg towards the bottom of the picture is extended from the post to allow the iPad camera to center over the object better.
The height is adjustable via the screw at the back of the post.
The leg towards the bottom of the picture is extended from the post to allow the iPad camera to center over the object better.
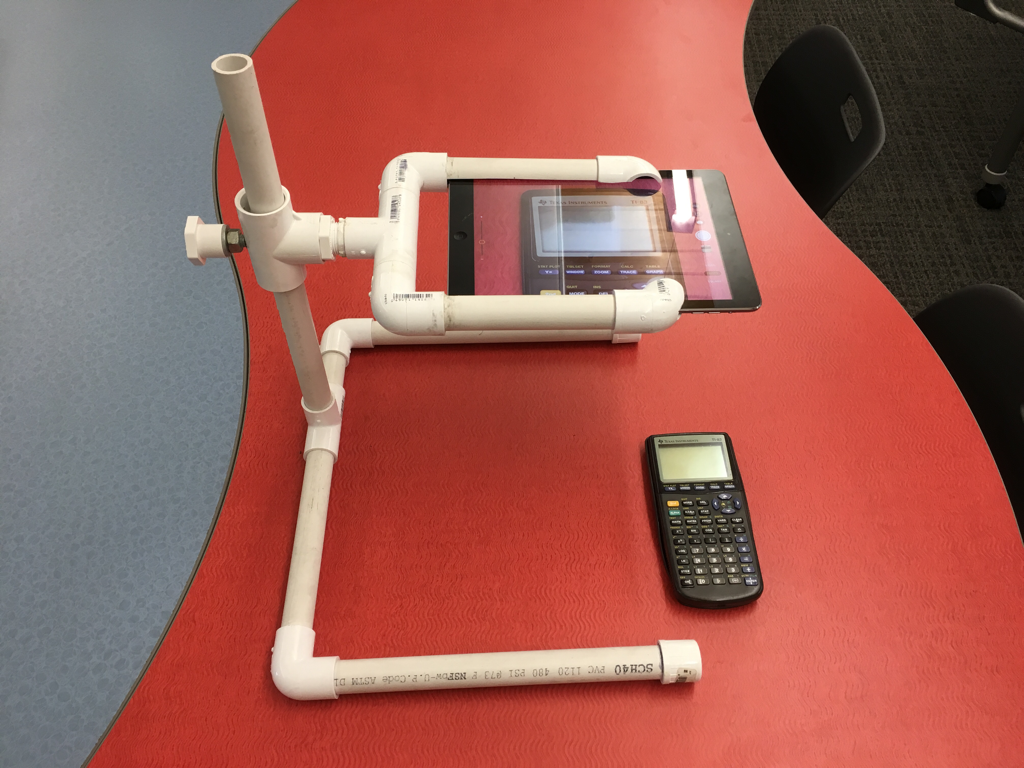
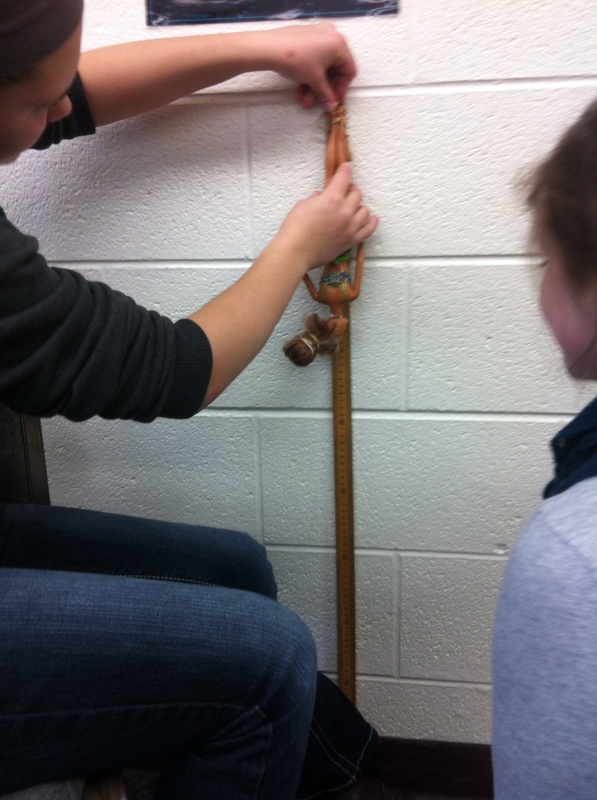
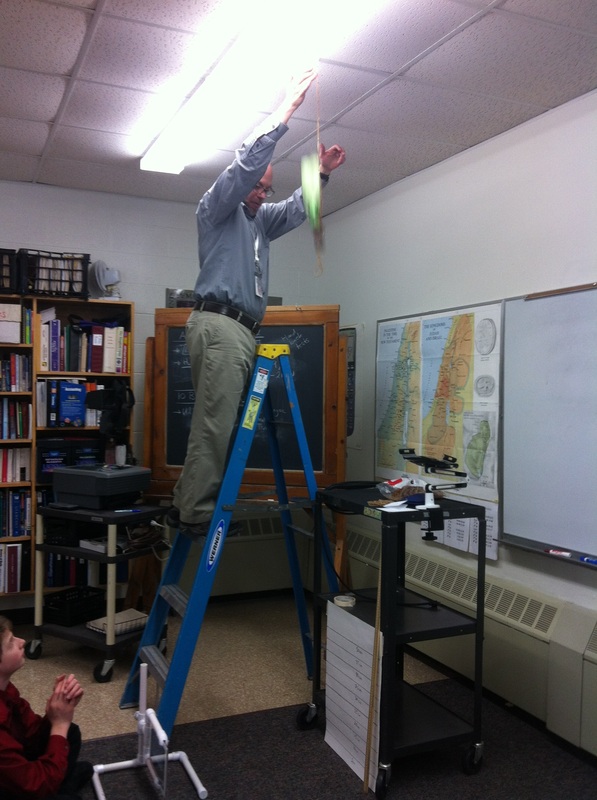
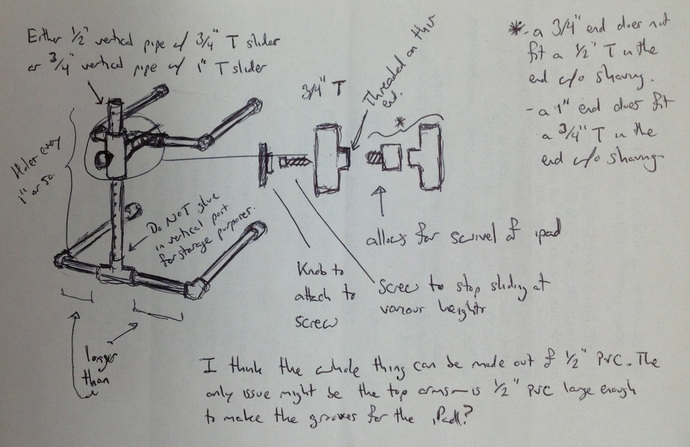
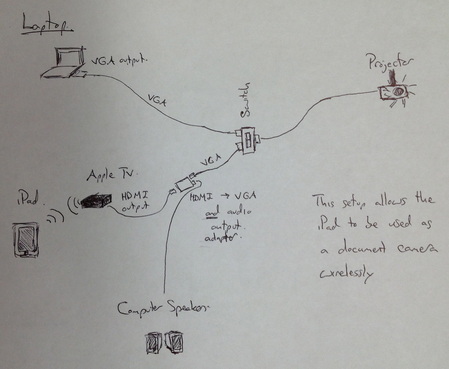
I created a swivel to allow it to turn into an iPad tripod. I use it to take video in my classroom. Mostly, this ends up with me taking video of an experiment so my students can get better measurements.

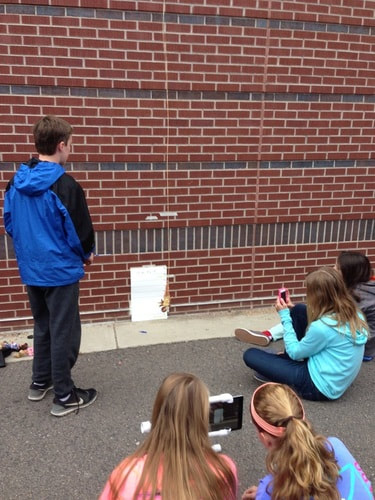
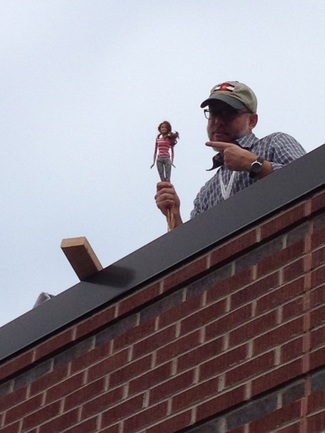
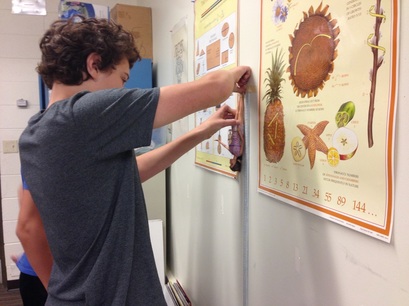
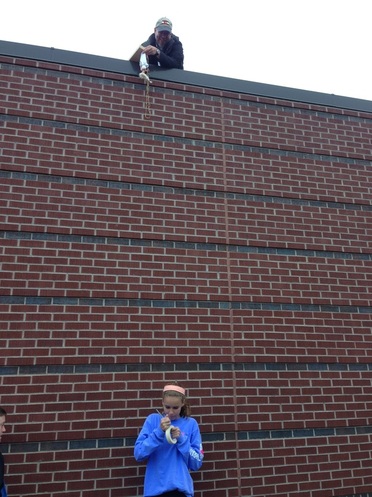
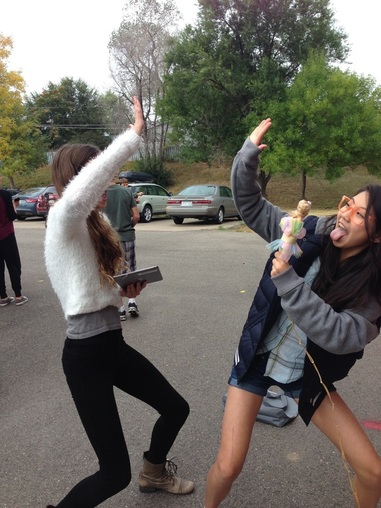
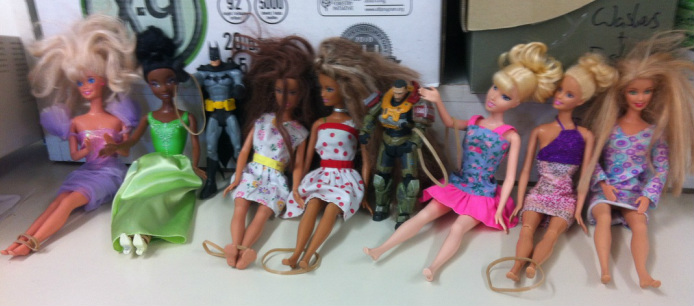
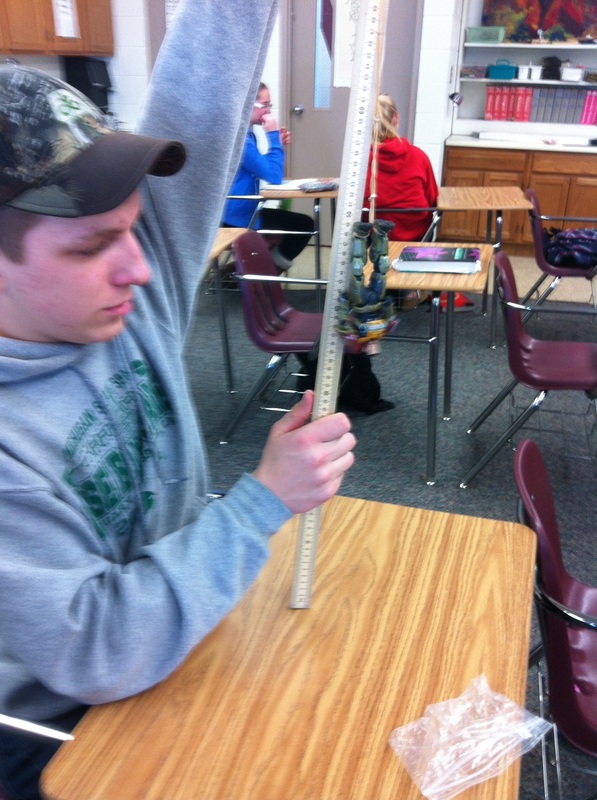
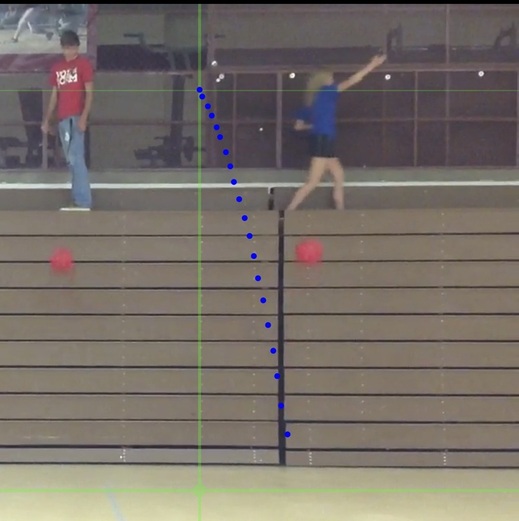
Here, my students are taking video of the experiment. Did Barbie hit the ground or not?! Instant replay.
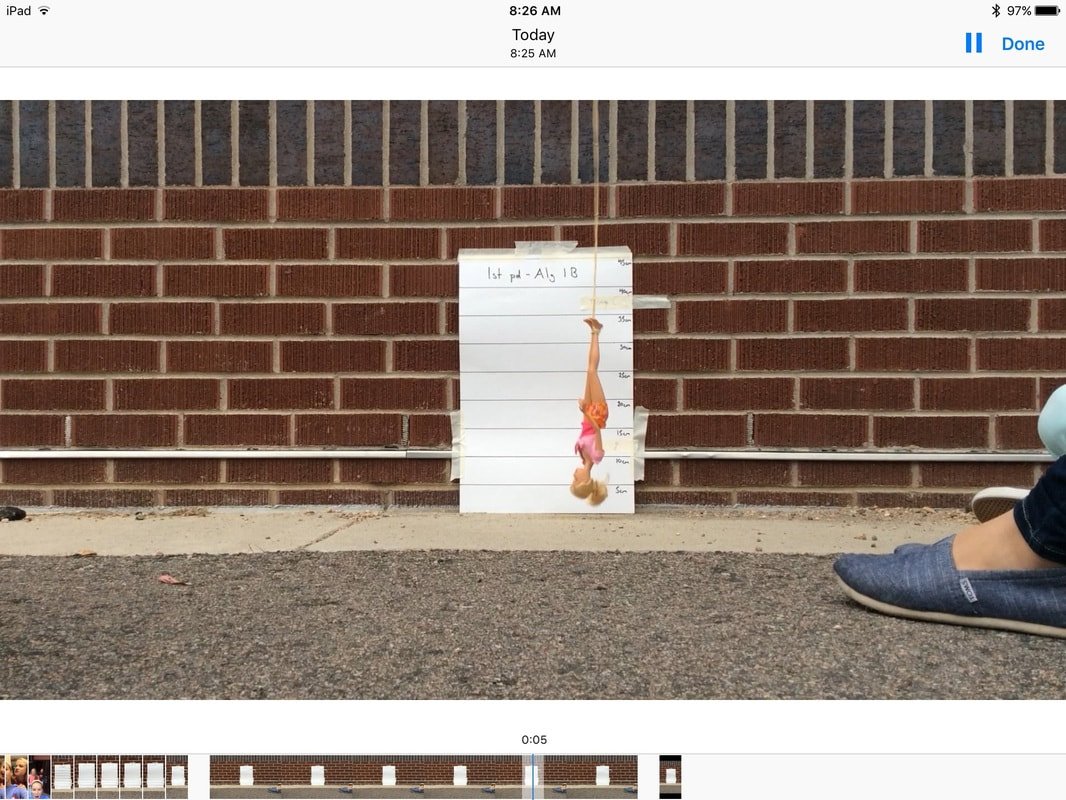
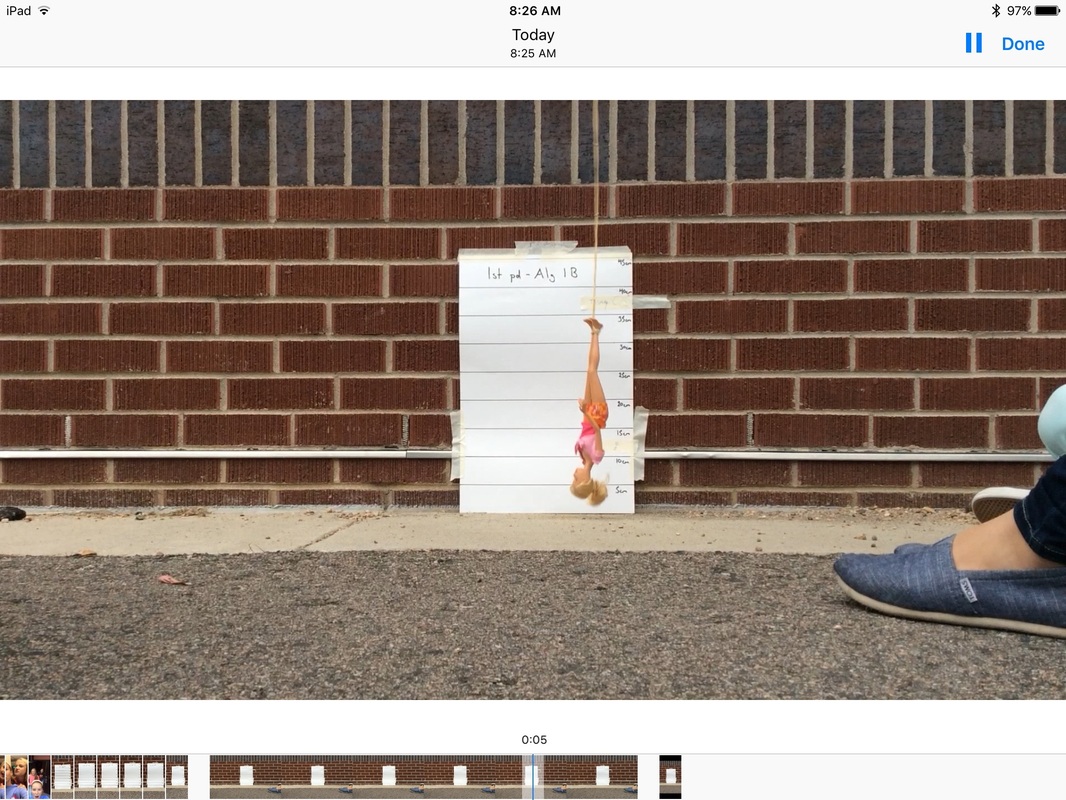
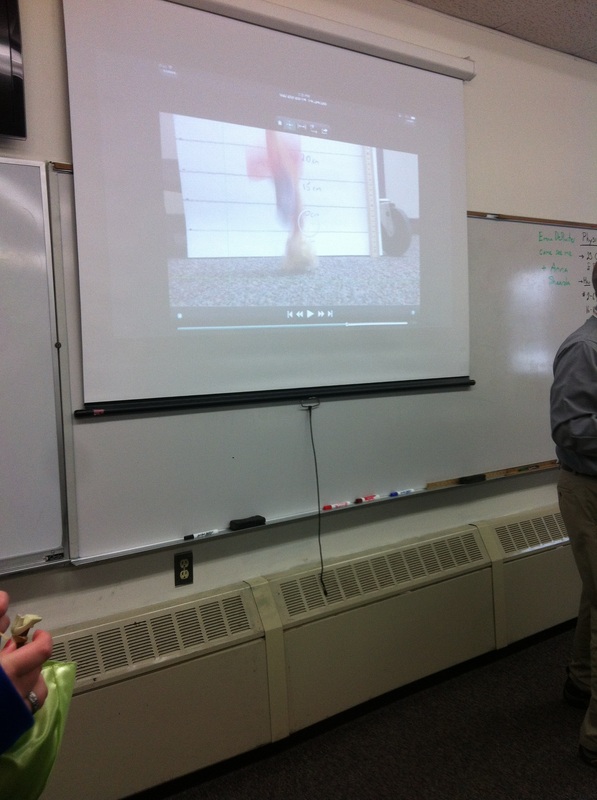
Here's a screenshot of the iPad video. Not too shabby.
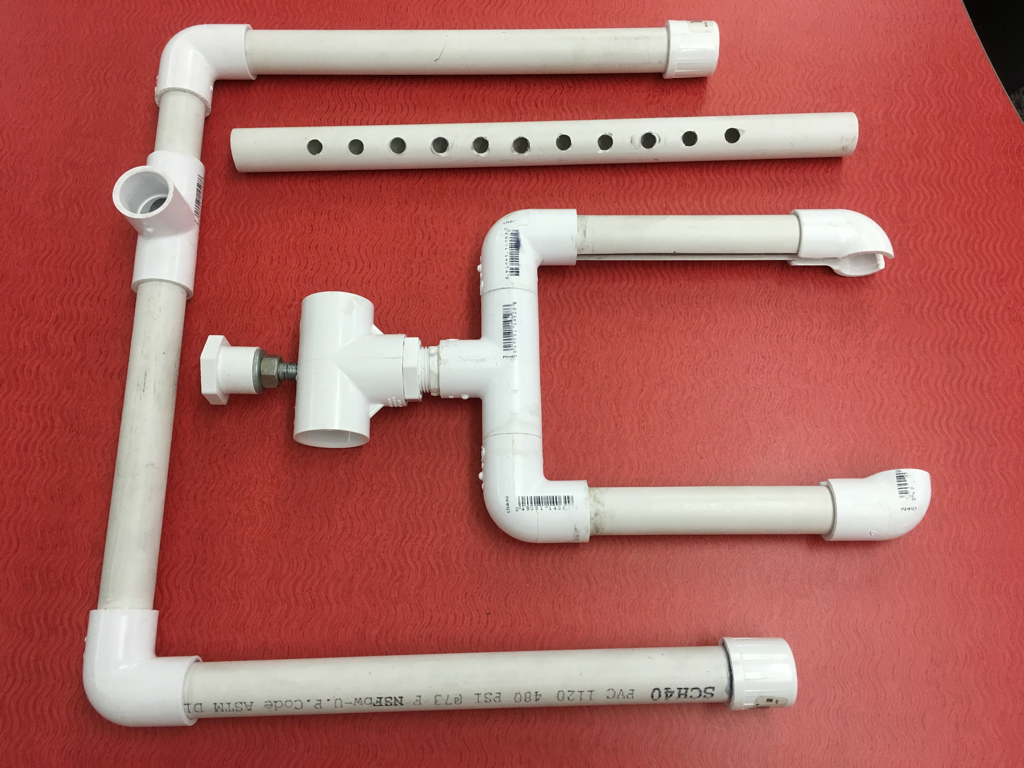
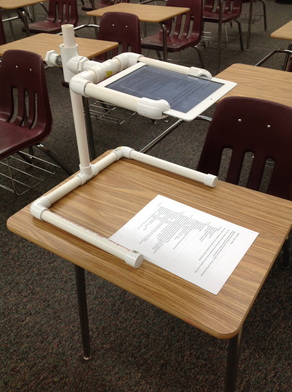
And, it's collapsible!
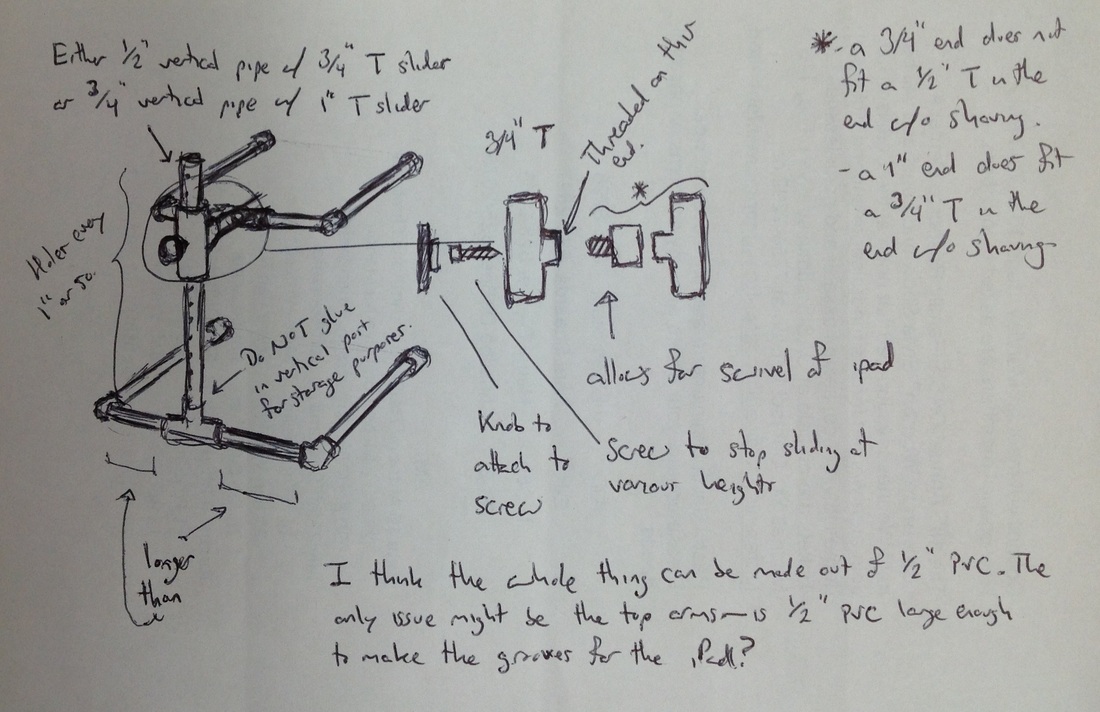
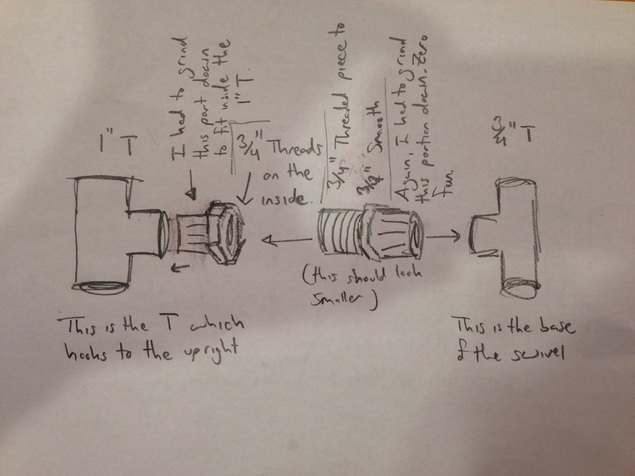
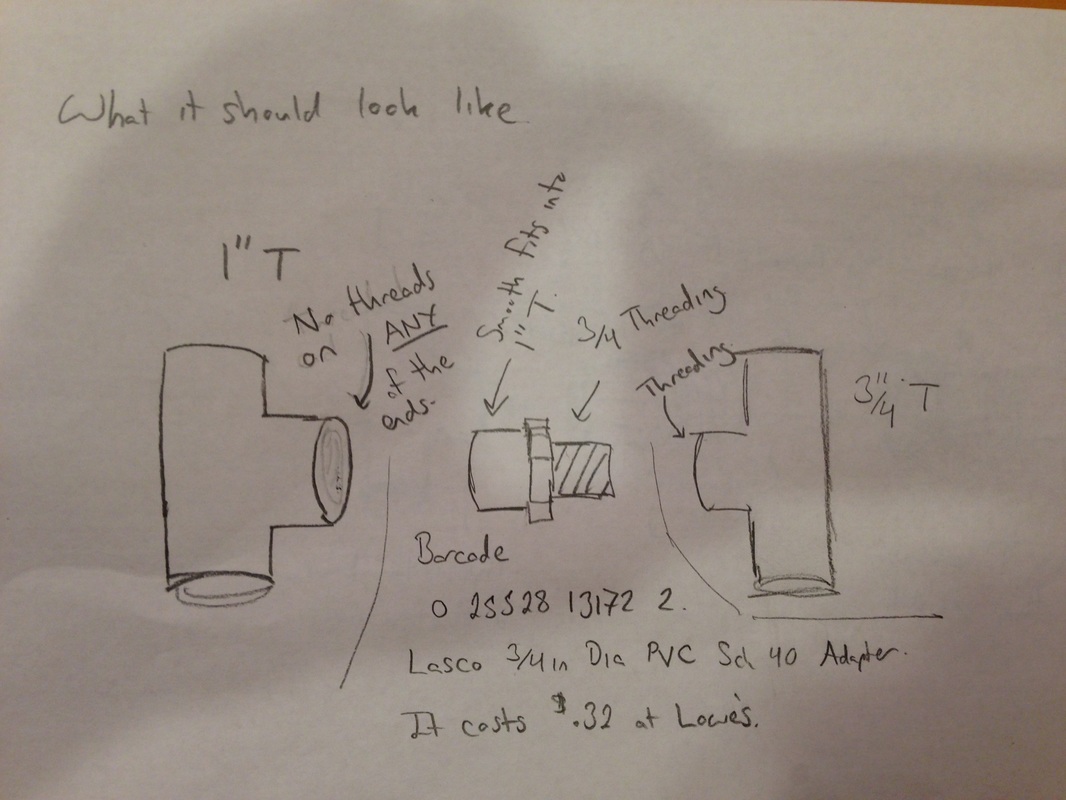
I've added to a previous post to create some detailed instructions here, if you're interested.


 RSS Feed